| Templot Companion | search | remove search highlighting | if the A-Z Index tab is missing click here |
on the trackpad
The most important window in Templot is the trackpad, where all your track design work takes place. It is usually maximized to full screen, but can be dragged and resized in the usual way if you prefer. This is useful if you want to have these Templot Companion web pages on screen below or alongside.
Much of the design work on the trackpad is done with the mouse using the many mouse actions available. For users unfamiliar with detailed track design the mouse actions can be used exclusively, allowing trial template prints to be made without any regard to exact dimensions. For more information about how to use the mouse actions, click mouse actions.
When working on a model trackwork design, you will find that you are repeatedly zooming in and out and moving to and fro across the pad area to see different parts of the drawing. This is inevitable with the nature of railway track, so please be prepared to take your time and adopt a relaxed unhurried approach.
To make things as easy as possible, Templot includes numerous zoom and pan functions to use when moving about the pad, but what you won't find here are the conventional Windows scrollbars. This is because they must have end-stops, whereas Templot's trackpad is virtually limitless in size. You can keep adding to your design without ever reaching the "edge of the paper", or pan out far beyond the actual track area to see the radial centre marks, for example.

You can zoom in and out when viewing the trackpad by repeatedly clicking the + and - zoom in/out buttons, either in the panel at the top of the pad, or in the window containing the zoom/pan controls which can be positioned anywhere on the pad.
Or you can zoom by pressing the ADD and SUBTRACT keys on the keyboard. (These are the + (plus) and - (minus) keys on the number-pad at the right-hand end of the keyboard. They may not work until you have pressed the NUMLOCK key off and then on again - indicator light showing.)
To zoom in or out more slowly, press CTRL-ADD or CTRL-SUBTRACT instead.
 For laptop users there are some alternative shortcut keys avoiding the number pad - see the full shortcuts list.
Another way to zoom in is to draw a rectangle on the pad of the area you want to see in more detail. Click either of the zoom rectangle buttons (next to the zoom in/out buttons). Then click down on the first corner and drag (button-down) the mouse to the opposite corner of your rectangle. When you release the mouse button, the pad will zoom in on the area contained in the drawn rectangle. Or if you simply click the pad without dragging a rectangle, the pad will zoom in to the maximum extent centred on the clicked position.
Or you can zoom to a precise size using the CTRL-F1 spot zoom and CTRL-F2 scale zoom mouse actions.
To move about the pad area, click or hold down the arrowed panning buttons in the window containing the zoom/pan controls. You can change the speed at which the pad view moves using the speed course and speed fine sliders.
A quick way to move the area in which you are interested to the centre of the pad, is to click on it with the middle mouse button (or with the left button while the CTRL key is held down). With repeated clicks and a little practice you can quickly move about the whole pad area this way. (If a mouse action is in force you will need two clicks, the first one cancels the mouse action.)
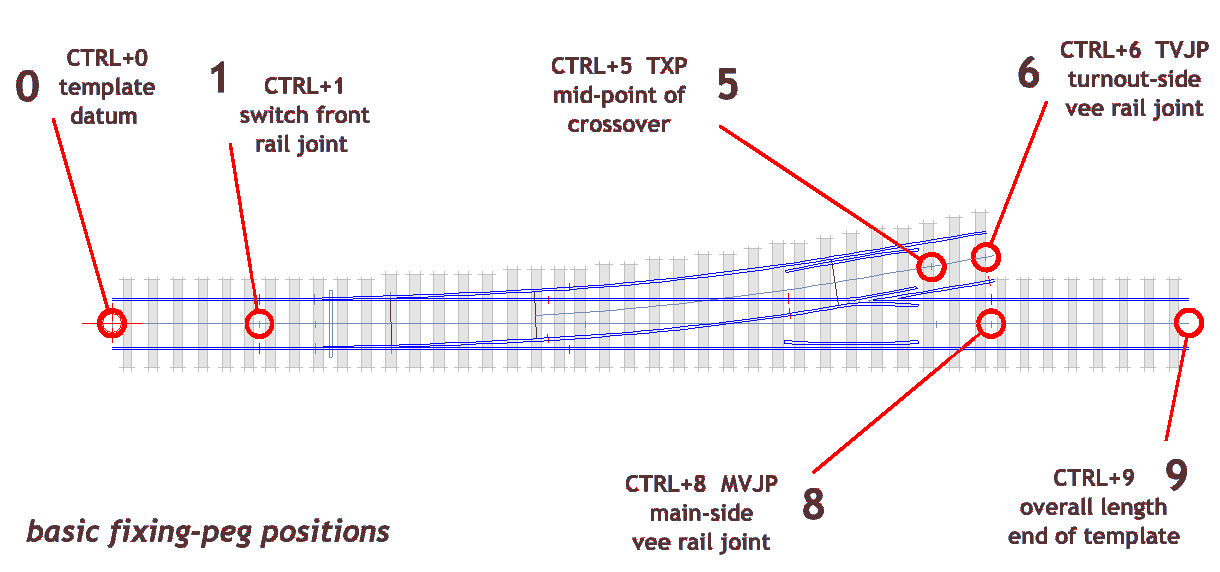
Another useful tip is to press the DECIMAL POINT key (next to the 0 (zero) key on the number-pad). This causes the pad view to be centralized on the position of the red fixing peg target mark on the current template. (SHIFT-F9 also does this). The 0 (zero) key on the number-pad does the same, and then zooms in close on the peg ( examine peg function). Pressing the 0 key again zooms back out.
Also very useful are the `¬ key (top-left of keyboard, below ESC) (or SHIFT-F12), which causes the pad to zoom in or out to just fit the current size of your whole drawing, and the . key (full stop, period) (or SHIFT-F11) which fits the current template only.
Or you can move the pad view using the CTRL-F4 move pad mouse action, which is also available by double-clicking on the pad.
There are also several other ways of changing the pad view and zoom settings, and panning across the pad. Please refer to the various items in the pad and adjust menus. You can also use the paper-bunching function to see both ends of a long template at once.
When printing individual construction templates for trim and fit methods directly on the baseboard, you will probably want to work in the zoom free mode. This means that the trackpad rescales itself to just fit the template you are working on. Click the pad > zoom/pan options > zoom free menu item, or right-button click on the pad and select zoom free on the right-click menu, or just press the PAGE UP key on the keyboard. Free zooming works best if the current template remains on its green dot datum point (which it is at startup).
When you start designing complete track plans on-screen, you will want to be in the zoom locked mode. This doesn't mean that you can't change the zoom setting, it simply means that it won't change by itself. After you make any changes to the zoom setting it automatically enters the locked mode, or you can lock it directly from the free mode by pressing the PAGE DOWN key.
When the zoom is locked the coloured panel in the top left corner shows red; when the zoom is free it shows blue.
Also in this panel is the peg indicator code 0 - 9 in red. This shows the current position of the fixing peg on the current template corresponding to the keyboard shortcuts CTRL-0 to CTRL-9, and also the letters S (meaning that you have Set the peg position directly), M (meaning that the peg has been set with a Mouse action), F (meaning that the peg position is Free), N (meaning that the peg is on a pre-set position for which there is No keyboard shortcut) or U (meaning that the peg is on your own User-defined pre-set position). Clicking the peg indicator quickly toggles the fixing peg to the opposite end of the current template.
For more information about using the fixing peg, click peg & notch.
You can change the trackpad colour scheme by clicking the multi-coloured button at the top left of the pad, or change colours individually by selecting the pad > pad drawing colours menu items. The pre-set schemes include those for 8-bit and 16-bit screen colour settings (16-bit recommended), and for inverse or normal video.
The information panel contains detailed dimensions and other data about the drawing currently showing. It can be toggled on and off by pressing the F2 key. The expand and shrink buttons give rapid access to the whole panel, and the several scroll-bars enable any item of information to remain visible when the panel is shrunk.
To reduce screen flicker, Templot redraws the pad image only when necessary. This may sometimes result in a blank pad, or a double image or a messy pad. Press the F12 re-draw key at any time to clean things up, or select the pad > re-draw + show current menu item. This also shows the current template again if it has been hidden (CTRL-W) to avoid obstructing background items.
If the pad remains blank, there is probably a mathematical problem preventing your requested turnout from being drawn. Select the track > B-6 turnout reset menu item (or CTRL-Z) to get going again.
Many of the menu items have keyboard shortcuts for rapid access which can also be listed and printed from the help > show shortcut keys list menu items. You can also print a handy chart of the function key shortcuts for the mouse actions which can be placed behind your keyboard.
A pop-up menu of the most frequently needed items is available by by right-clicking the mouse on the pad area, or by selecting the pad > show right-click menu menu item.
You can minimize the whole of Templot at any time by pressing the PAUSE key on the keyboard, which avoids the need to return to the control room to do this.
It is often helpful to be able to see both ends of a long template at once, for example when adjusting the sleepering by swapping end-for-end, or when using the slewing functions. Also when a long template is pegged at one end and adjustments are being made at the other it is reassuring to see that the pegged end is remaining fixed.
These things are all possible by zooming out sufficiently to see all of the current template (SHIFT-F11 or just the . full stop, period key), but for a long template this means that the drawing will be too small to make accurate adjustments.
This is where paper bunching is useful. A large area in the centre of the pad drawing "paper" can be bunched concertina-fashion into a narrow band, so that two different areas of the pad can be viewed at a much larger scale.
Select the pad > pad view options > paper bunching on menu item, or just press the < key. To restore the normal pad select paper bunching off or press the > key.
While paper bunching is in force you can select the adjust > mouse actions:pad > adjust paper bunching menu item to adjust the bunching by mouse action. Moving the mouse pointer from side to side adjusts the width of pad area included in the bunch zone, and moving the pointer up and down adjusts the vertical displacement or shear between the two sides of the bunch zone.
With paper bunching in force you can use all the normal zoom and panning functions to get the two areas you need in view at an appropriate scale. Just experiment with the settings to get the required result. At startup the amount of bunching applied is fairly modest, but by zooming out and then using the mouse action you can adjust the bunch zone to include several metres of pad if necessary. Then zoom back in to see each side in detail.
Paper bunching affects only the way your drawing is shown on the screen. There is no change to the actual drawing or the printed pages. All the design work you do with paper bunching switched on has exactly the same effect as when paper bunching is switched off. After switching it off the drawing will be identical to that which would have been drawn if paper bunching had not been used. If you have switched the pad grid lines off, the paper bunching function will switch them back on so that you can see the position of the bunch zone. But you can switch them off again if you wish.
tech-chat appears in green occasionally on these web pages like this. You don't need to understand any of this to use Templot.
The trackpad is effectively limitless in size. Templot's drawing space is +/- 1.0E7 mm square and drawing is done to the nearest 0.01 mm within it. (That's 20 kilometres or 12 miles square! Which in 4mm scale represents an area over 900 miles square, more than enough to model the entire British and Irish railway networks to scale. If you are planning to do this you should be aware that Templot makes no correction for the curvature of the Earth.)
This is the reason that the trackpad is not navigated using conventional Windows scrollbars or sliders, which have end stops and therefore need a fixed trackpad size.
more notes here soon
page revised © 22-Sep-2005
link to this page: https://85a.uk/templot/companion/gs_pad_notes.php