| Templot Companion | search | remove search highlighting | if the A-Z Index tab is missing click here |
by Allan Ferguson
This is a short exercise for someone who is completely new to Templot. It goes step by step through all the processes involved in creating a simple track plan, and introduces the functions involved.
It is not a comprehensive guide to Templot, and it is entirely unofficial.
It is hoped that new users will, by actually creating a usable track plan, develop a facility through actually carrying out the steps involved, and will acquire the confidence to further experiment with the many controls for themselves. The only way to really get to know Templot well is to keep trying different controls to see what they do.
It must be emphasized that there are always several ways of achieving an objective, and this is only one way; it is the way I might operate. I am very well aware that other experienced users will operate in a different way.
This tutorial is intended for those who are completely new to Templot; it will not help those who are already mired in its complications. There is much that is not dealt with at all, and some things that are only touched on. However nothing succeeds like success, and the user who has accomplished this will be able to journey forth into the wide open reaches of the program knowing that it can achieve results.
This document is my personal creation and owes nothing to anyone else.
Allan Ferguson.
Open Templot.
This is version 091c:
1.
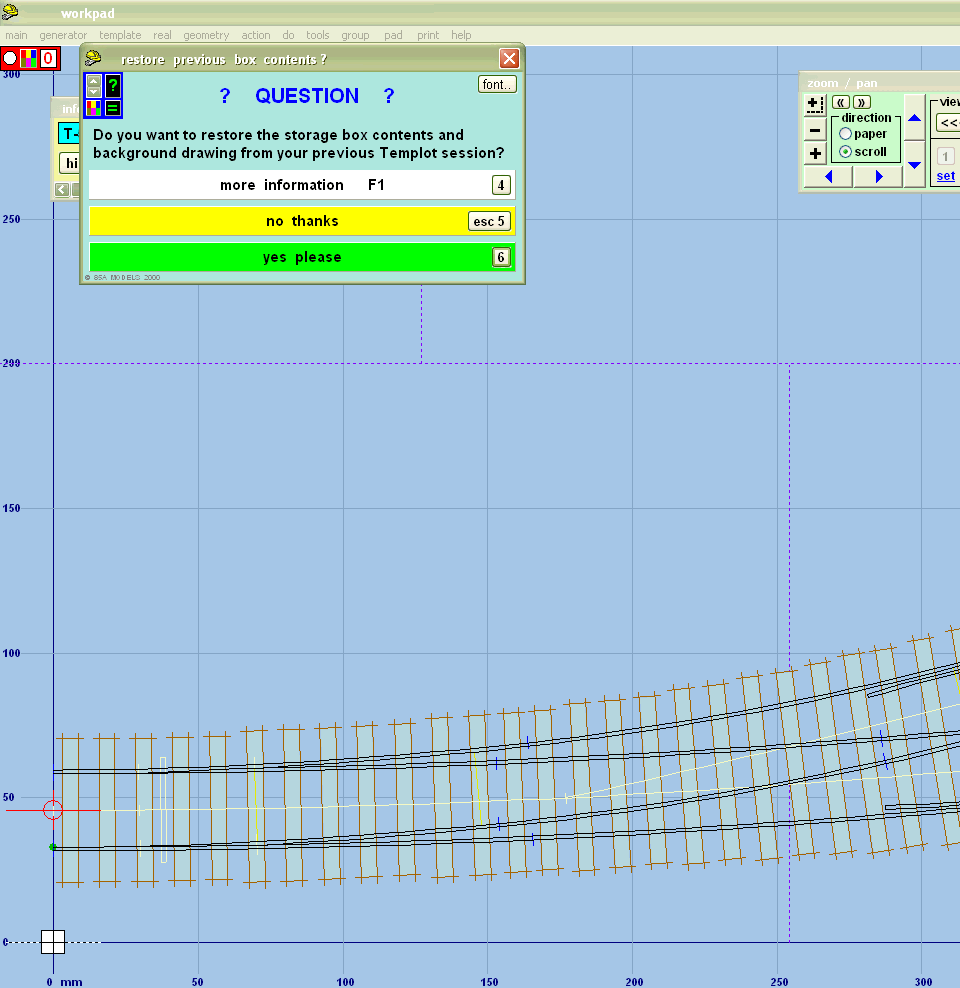
Click no thanks.
2.
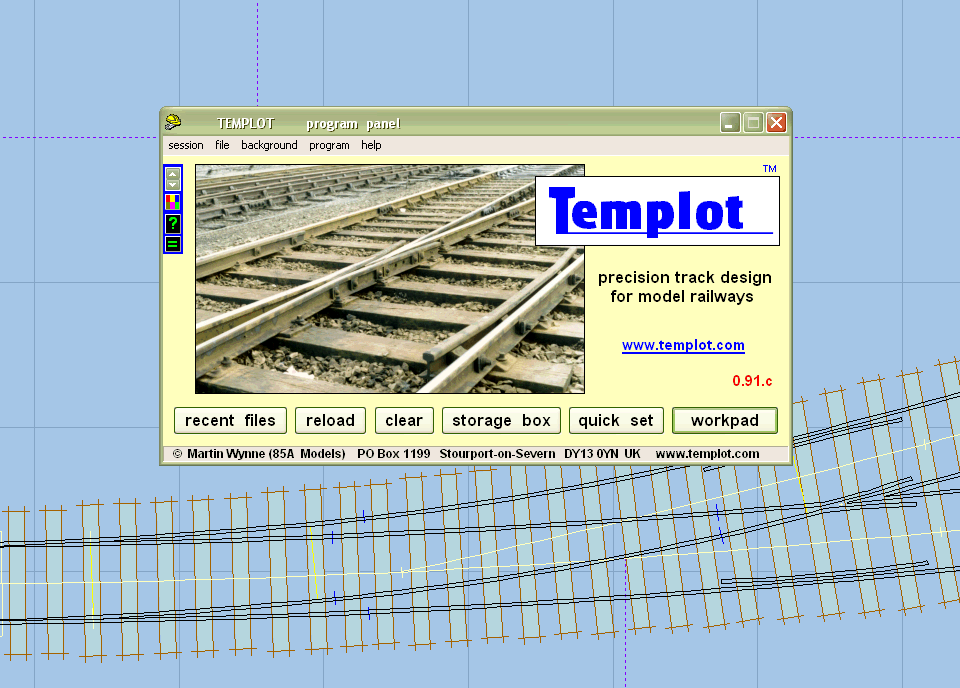
Click workpad.
3.
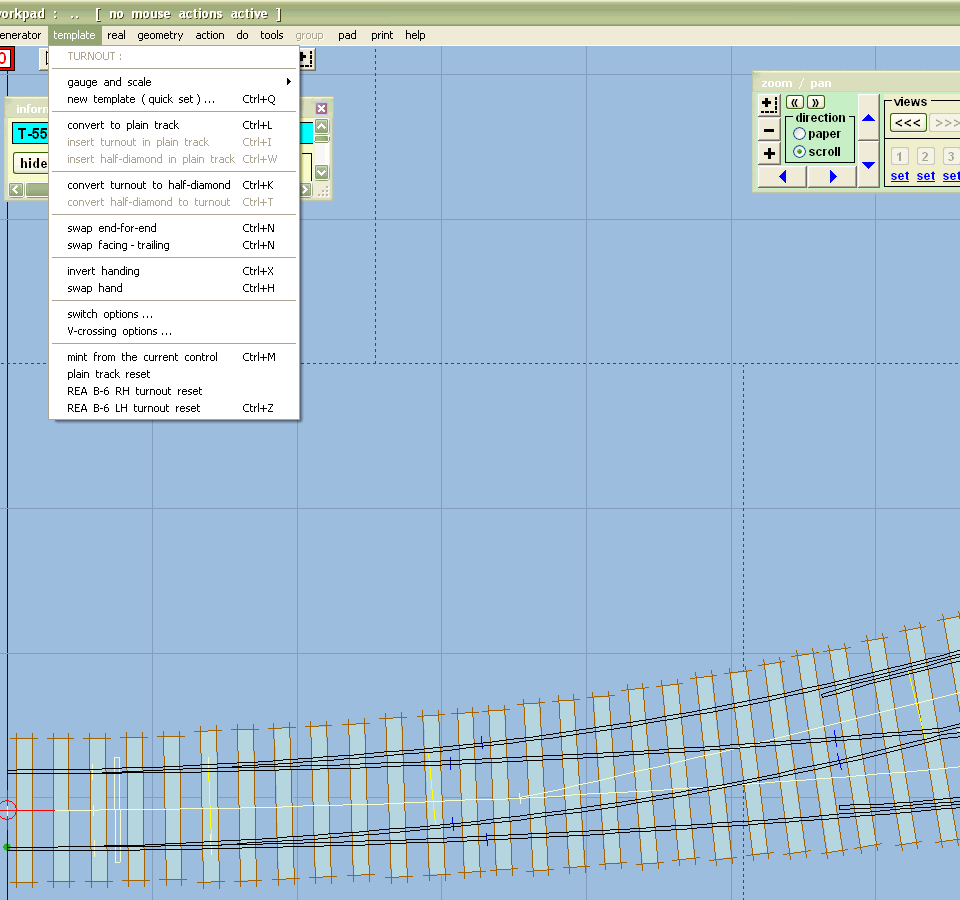
Click Template.
Click Gauge and Scale, then P4/S4 (or whatever scale / gauge combination you use: I model P4).
This converts the turnout on the page to your chosen gauge.
Click Template / Convert to plain track.
4.
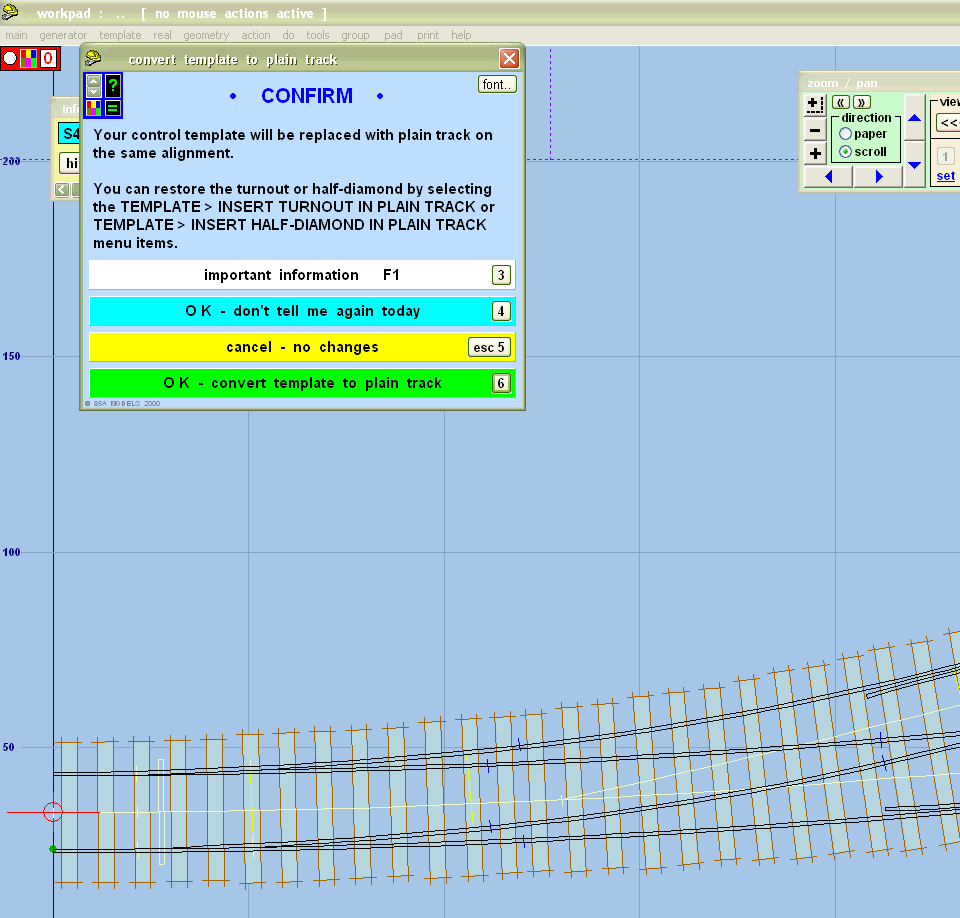
Click OK – don't tell me again today (unless you want to be reminded every time).
5.
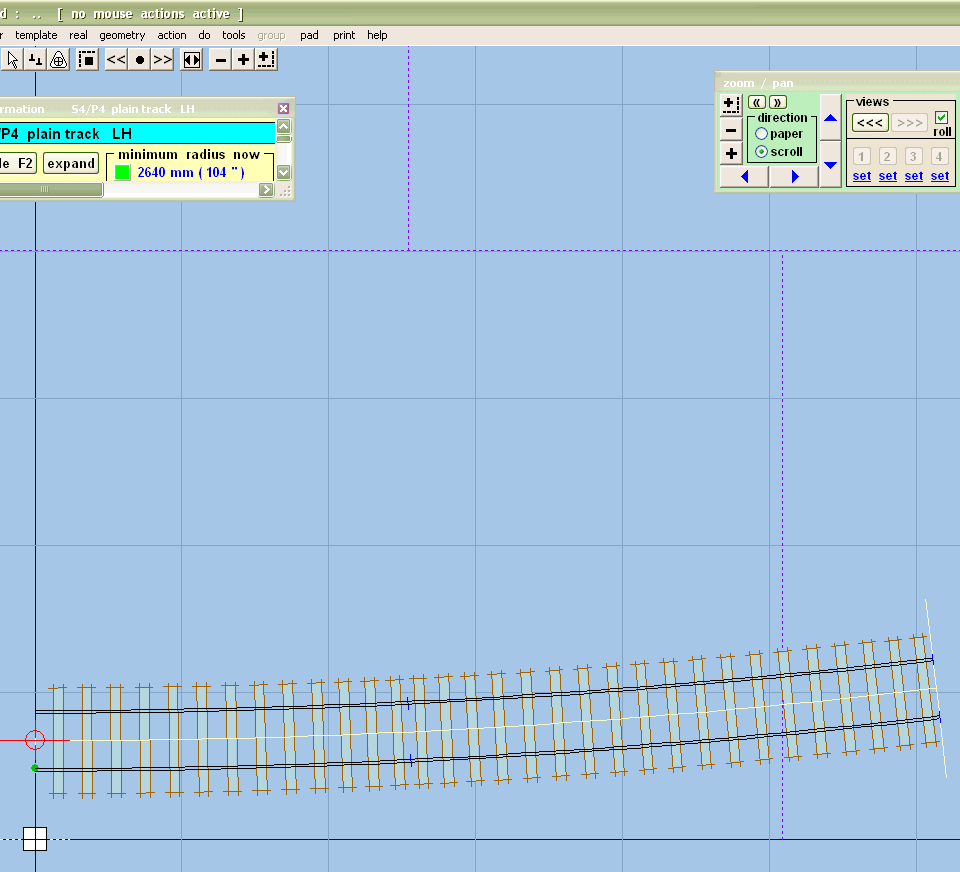
Now zoom out using the panel at top left, or the mouse wheel. You can also move the screen around by dragging it with the mouse.
6.
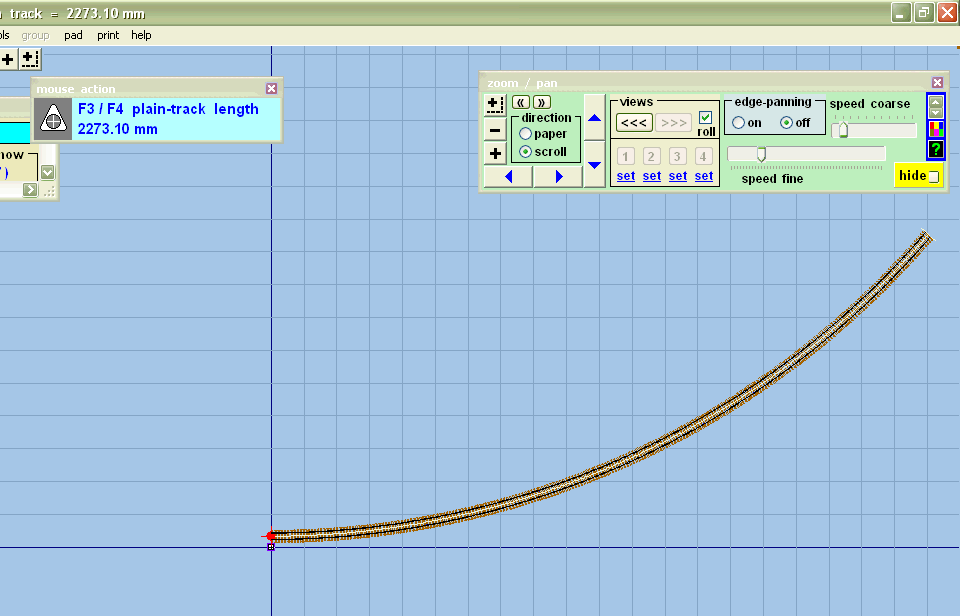
Press the F3 or F4 key, and increase the length of the template using the mouse.
To do that click anywhere on the screen, move the mouse sideways, click again. You don't have to click on the template itself. You can repeat this process if necessary.
When the template is the required length press the space bar key, or roll the mouse wheel back and forth.
(Or you can press the Esc key, or the F12 key, or click the red X on the mouse action panel.)
7.
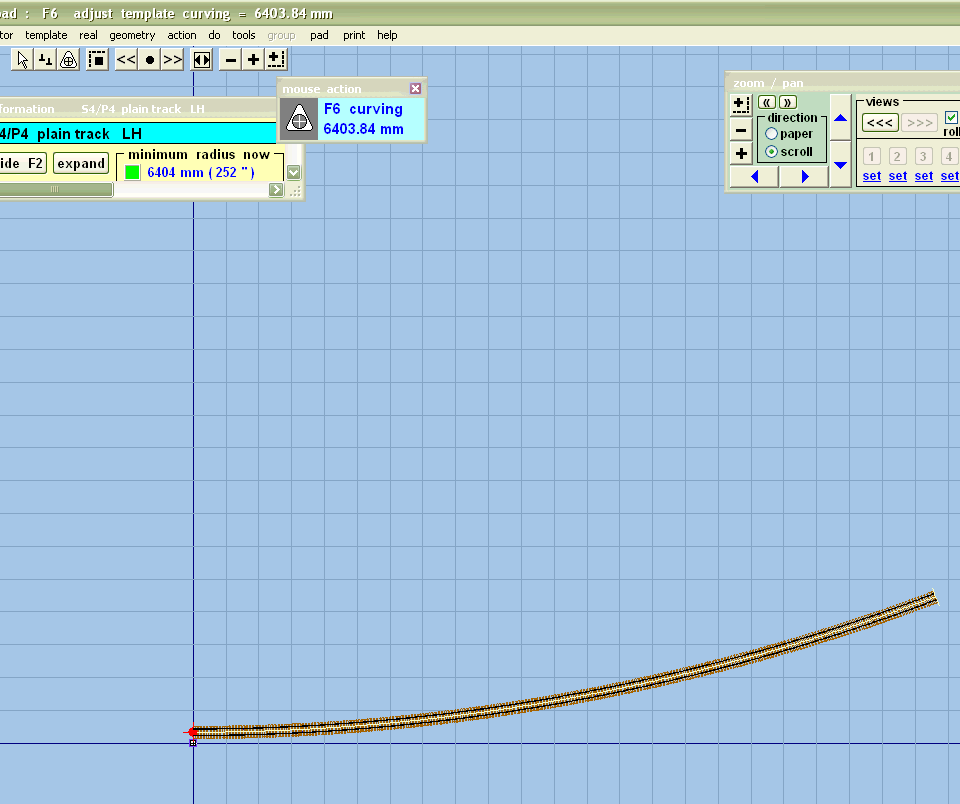
Press F6 and use the mouse to adjust the radius of curvature. This time move the mouse up and down.
Set it about 6400mm.
Use the mouse to drag the template to the middle of the screen.
Click on Template / insert turnout in plain track.
8.
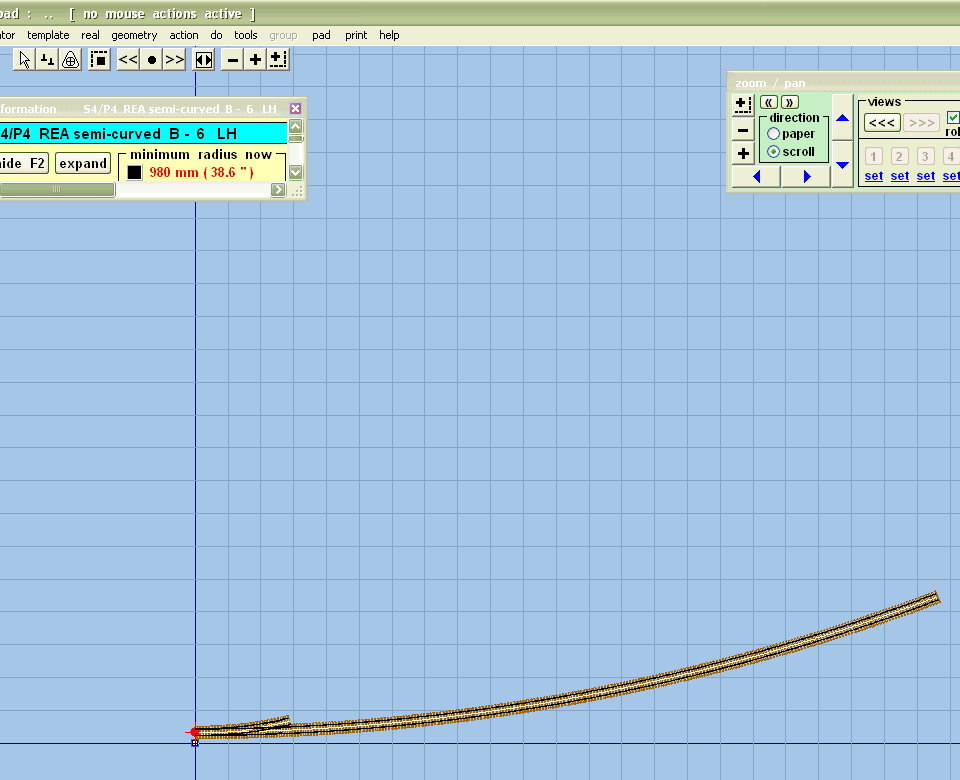
This has given me a turnout B6 left hand. It's also resulted in a minimum radius of 980mm, which is less than I'll accept. Also, as I model pre-grouping I want straight switches. So click Template / switch options / 12ft straight heel switch / OK.
9.
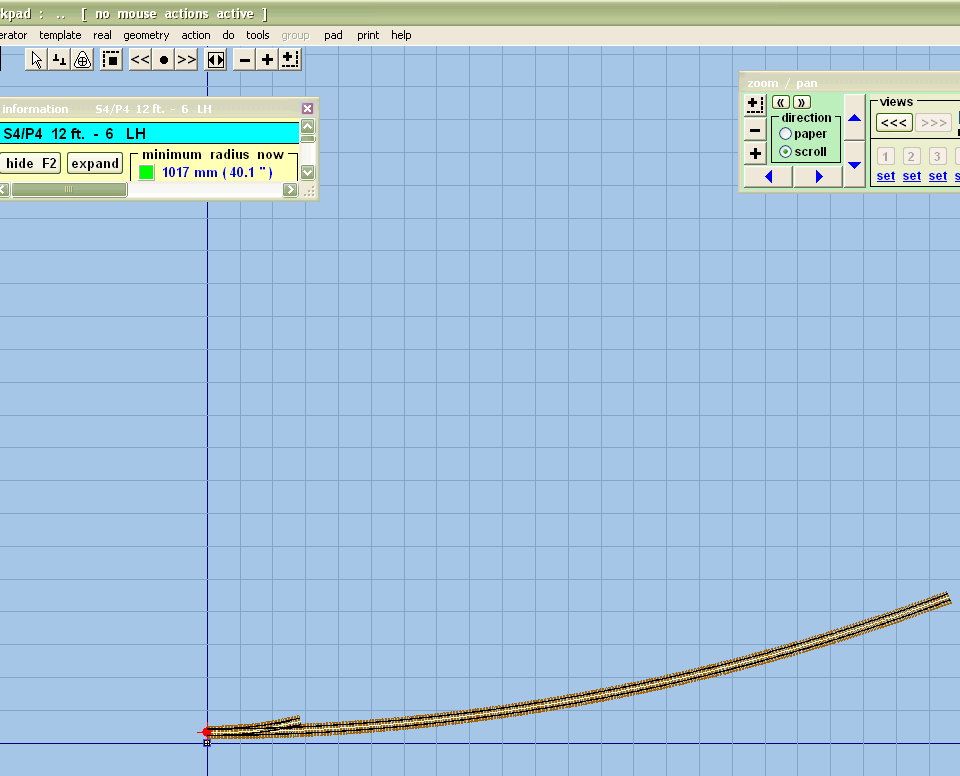
Note that this has already increased the minimum radius. Now click template / V crossing options / 1:8 / OK.
10.
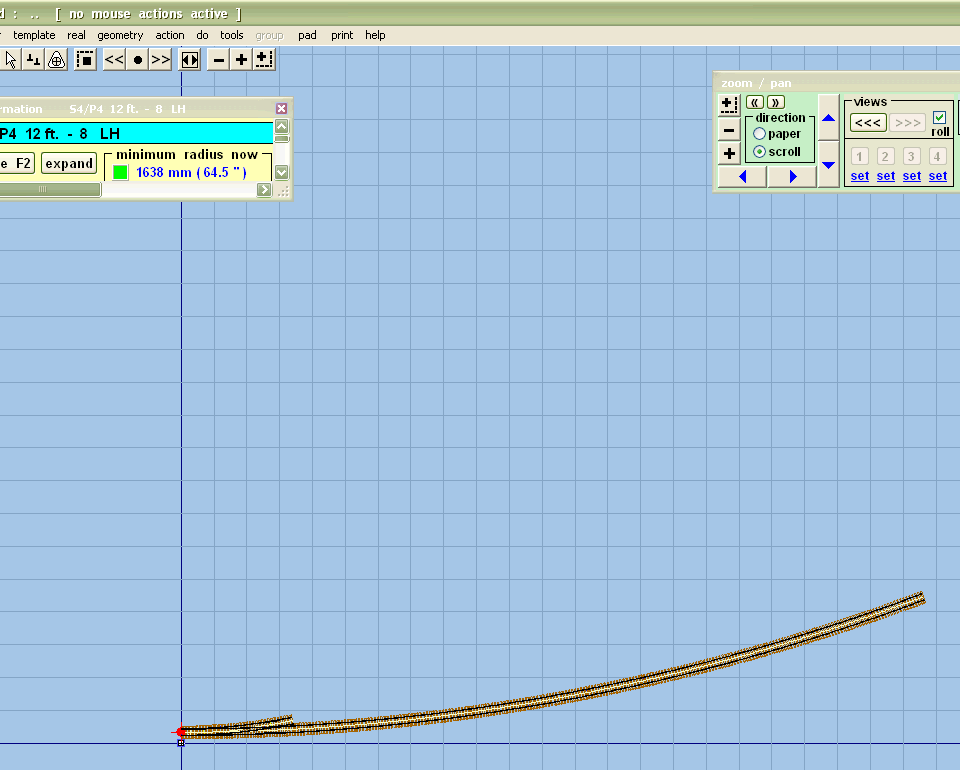
Now this has given me a much longer turnout, with a more acceptable minimum radius.
11.
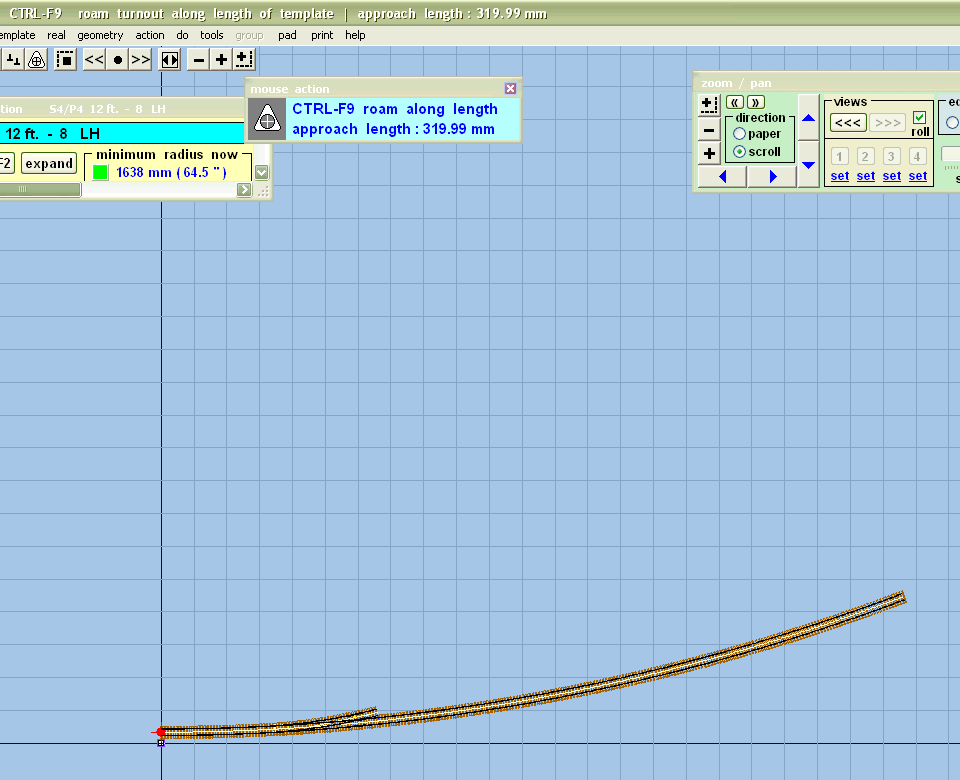
Now I want to move it along a bit, without altering the position of the main line. Press key 9 (not on numeric keypad). This lets me use the mouse to position the turnout just where I want it along the main line.
This is called "roaming" the turnout into position.
12.
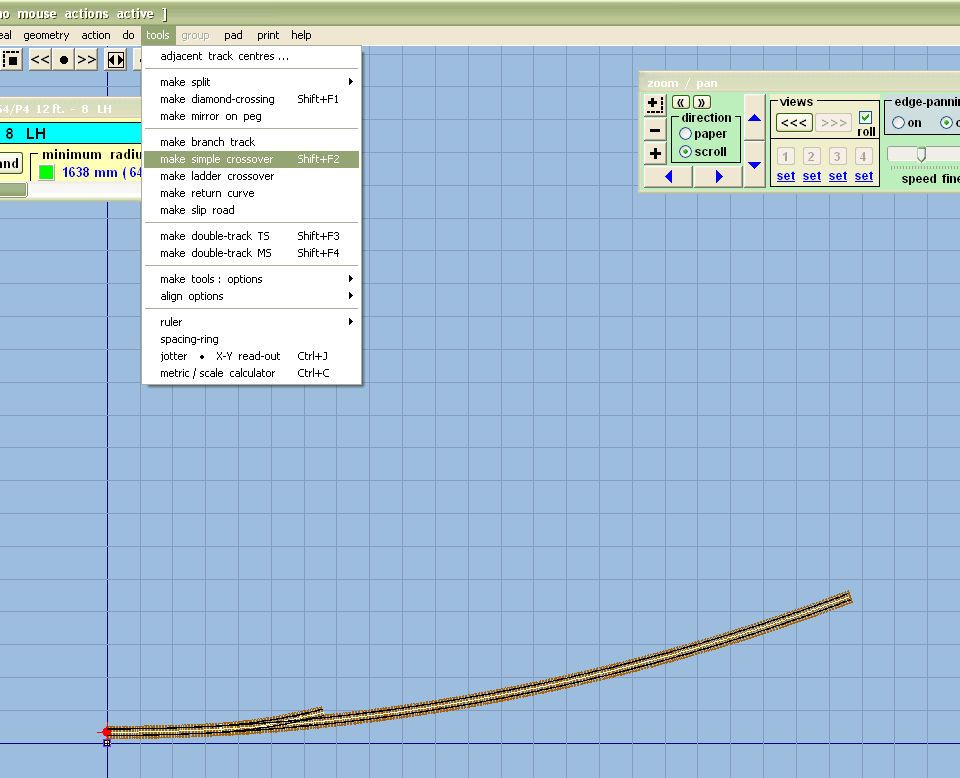
Now I want to turn this into a loop. Click on tools / make simple crossover.
13.
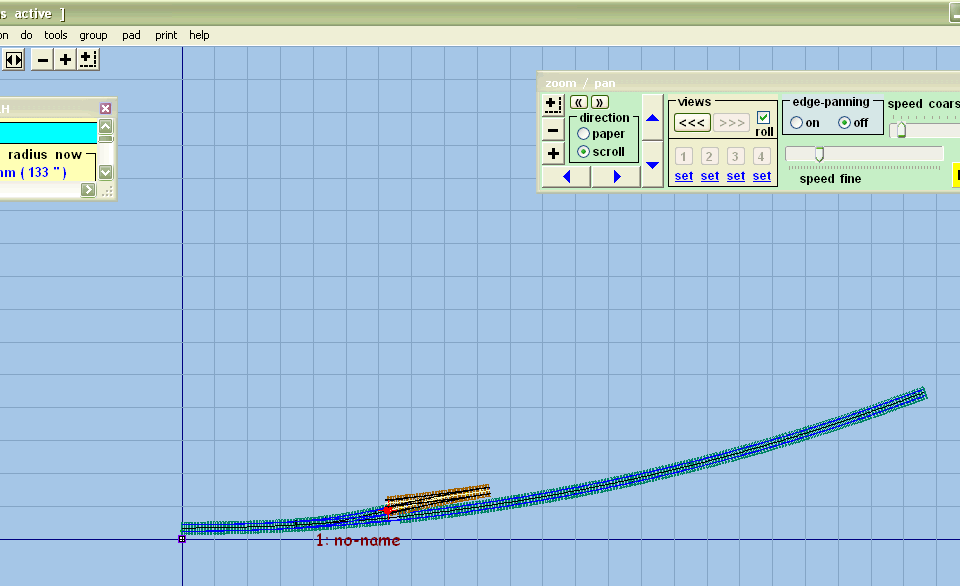
And this will give you something like this.
You'll note that you now have two templates, the control template in brown, and the background template in blue. There is only ever one control template, and it's always the one we're working with. Any other visible templates are called background templates.
The gap in the sleepers on the blue template is where Templot thinks we will want to extend long timbers across from the brown turnout, to make a proper prototypical crossover. This process is always left until last, in case we want to make other changes to the track plan before then.
Personally I like to minimize the amount of stuff showing on the screen, so I click pad / background options / background templates detail,
14.
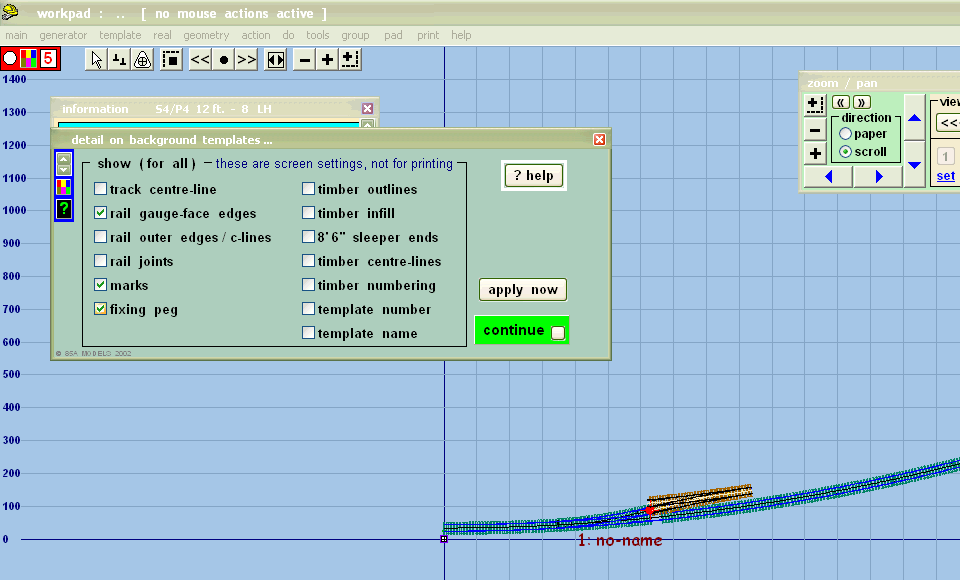
and untick everything except rail gauge face edges, marks, and fixing pegs. These are the minimum I need to work with; the rest can be brought back if I want them.
15.
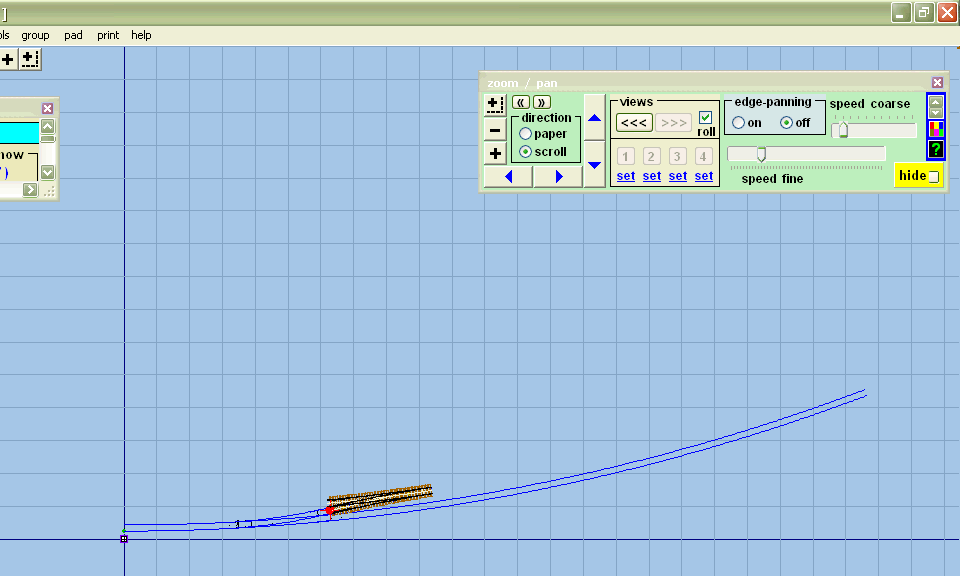
The red dot is the peg for this template which may be thought of as a drawing pin locking it to the screen.
You can put the peg in lots of different places on a template. Usually Templot puts it in the best place for us. In this case it has put it in the middle of the crossover, so the tracks there will stay in line when we make adjustments to the template.
16.
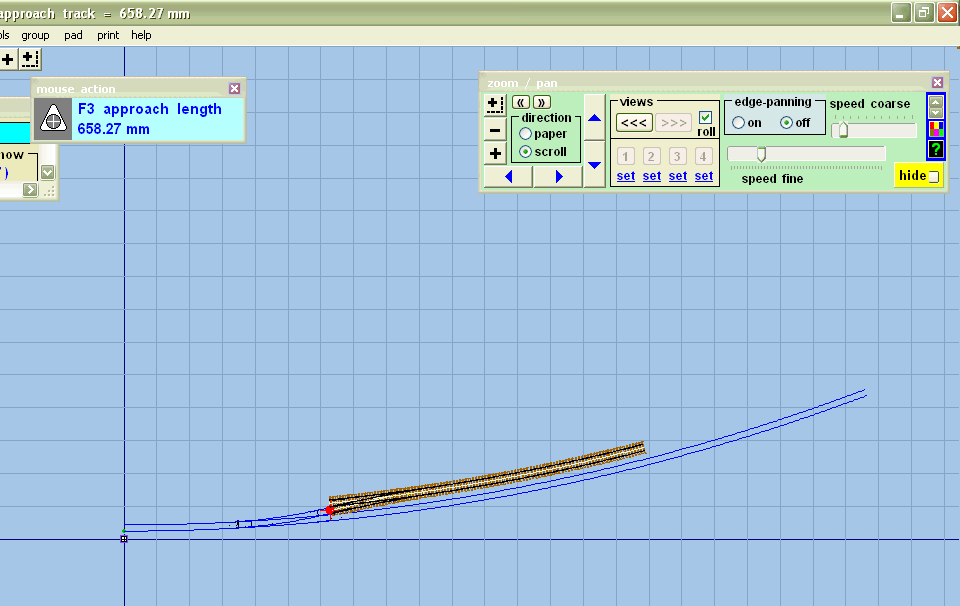
So as I want to extend my embryo loop, press F3 key (approach length) and use the mouse to extend the approach as required.
Notice that the new bit of track is on a parallel curvature to the previous bit.
Now I want to extend the head-shunt, so press F4 and use the mouse to extend the overall length of the turnout in the opposite direction as required.
17.
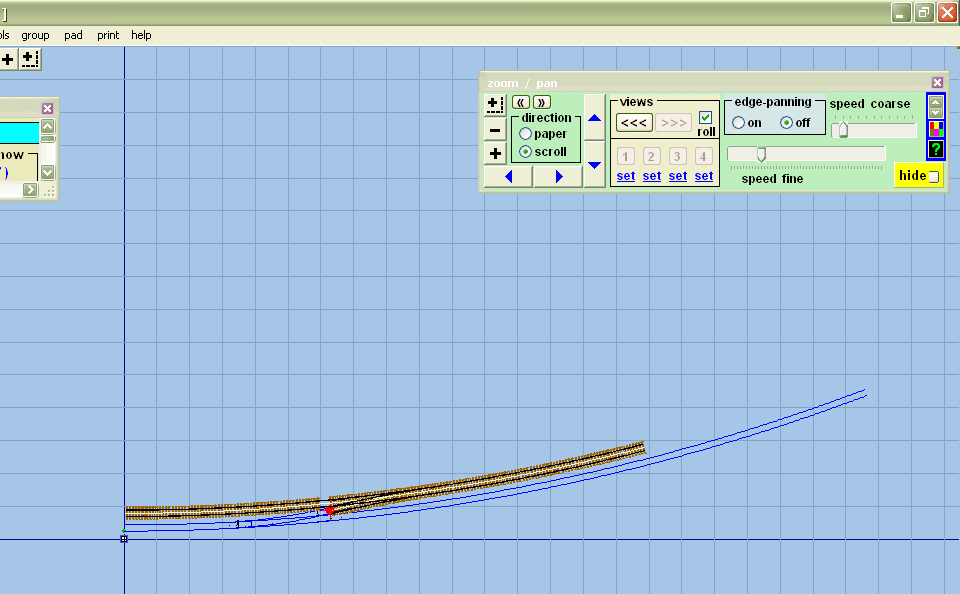
Templot has left a space for the long timbers again.
18.
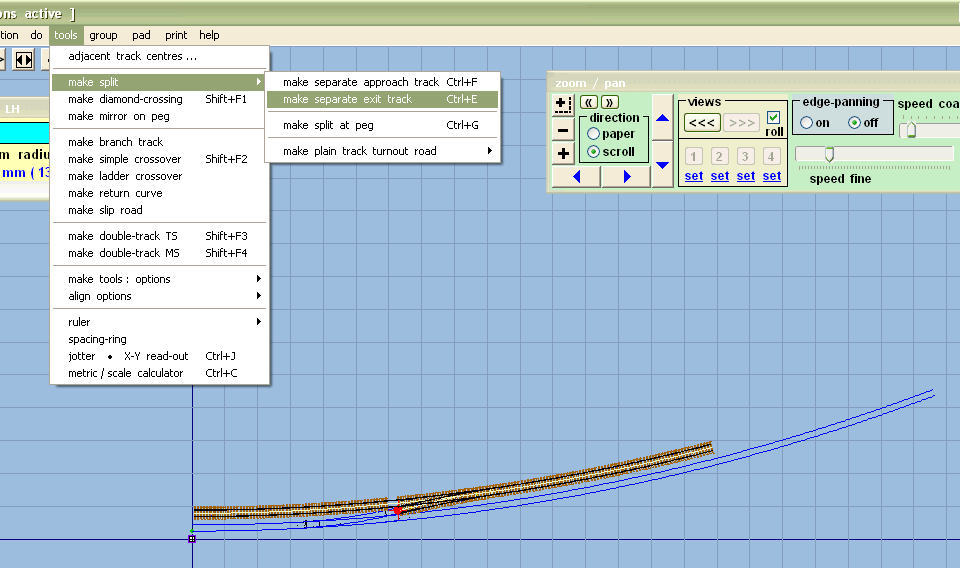
But I would like to curve the head-shunt on a different radius, so I first need to separate it from the rest of the template, using tools / make split / make separate exit track.
19.
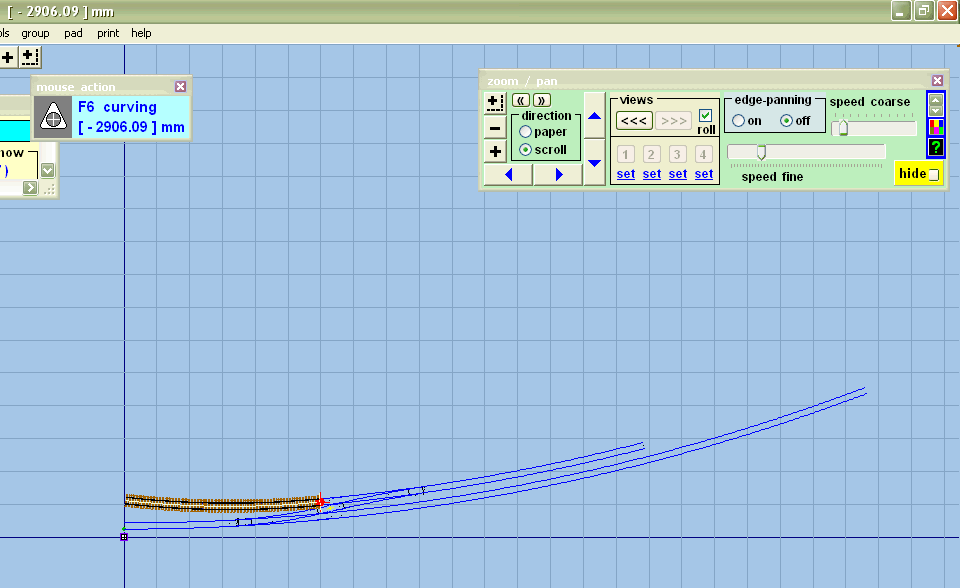
This creates a new template which I can deal with by itself, in this case by reducing the radius slightly using F6 again.
Templot has put the missing sleepers back, because this is a separate template, not part of the crossover. (If we want a gap later, we will have to remove the sleepers ourselves.)
Note the position of the peg. If it had been at the other end this is what would have happened when we use F6:
20.
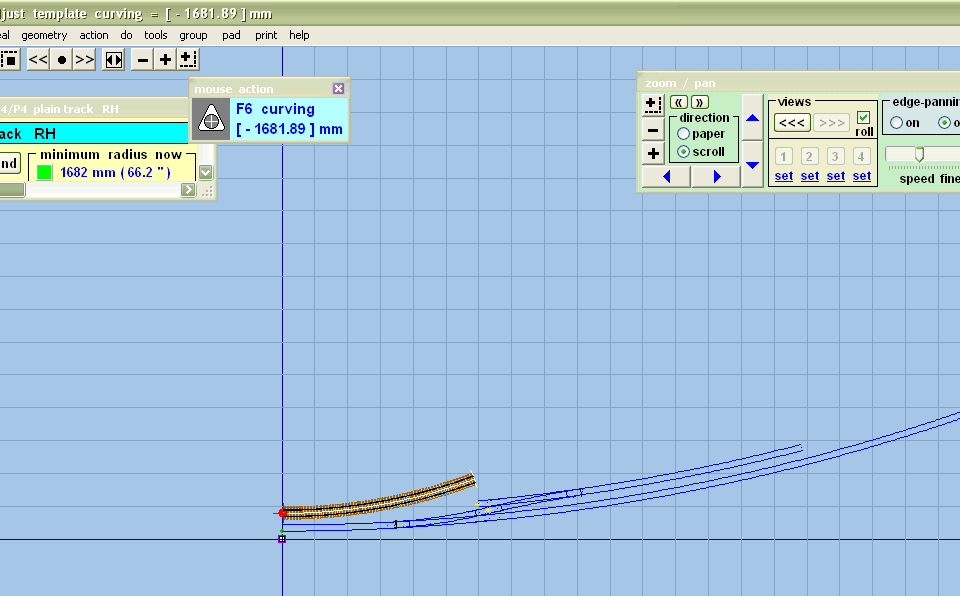
The peg position can be changed by clicking in the box with the red number in it at top left, or by clicking on geometry / peg positions / …..
21.
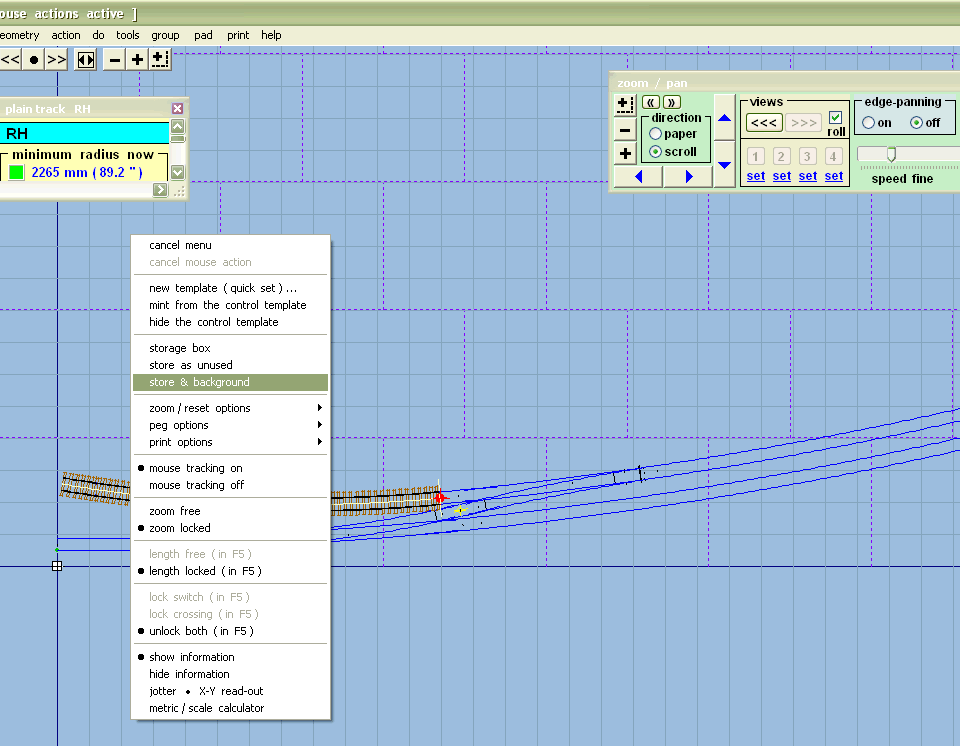
Now I want to create the other end of the loop, so I first have to transfer this template to the background. Right click anywhere on the screen, then left click on store and background.
22.
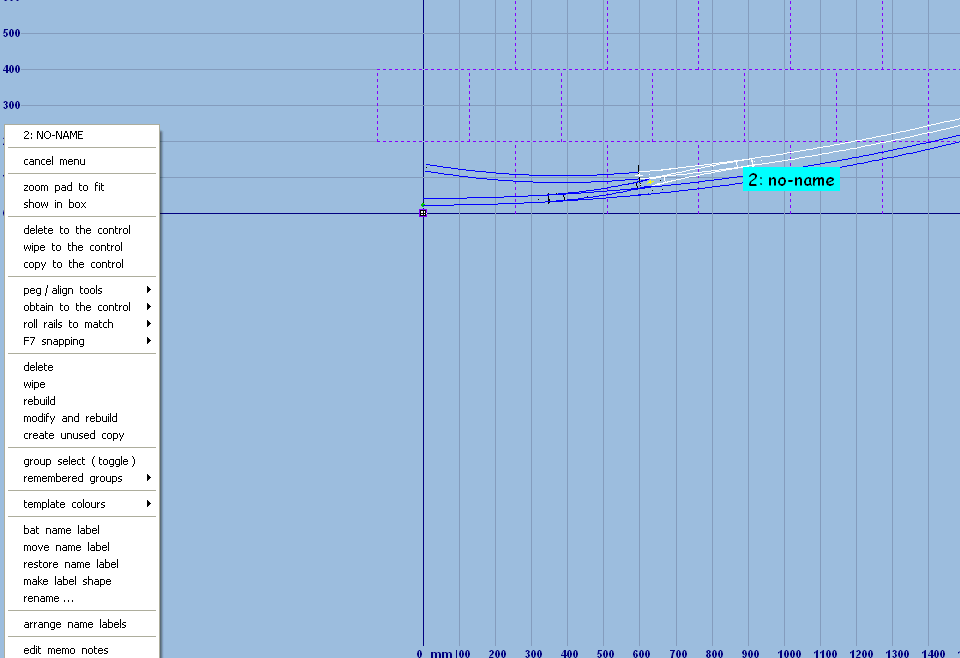
To put in the other end of the loop I need another crossover. This means we need to work on the loop line template again.
Start by left clicking on the loop line template, and then "delete to the control". You may get another warning screen – click "OK don't tell me again".
23.
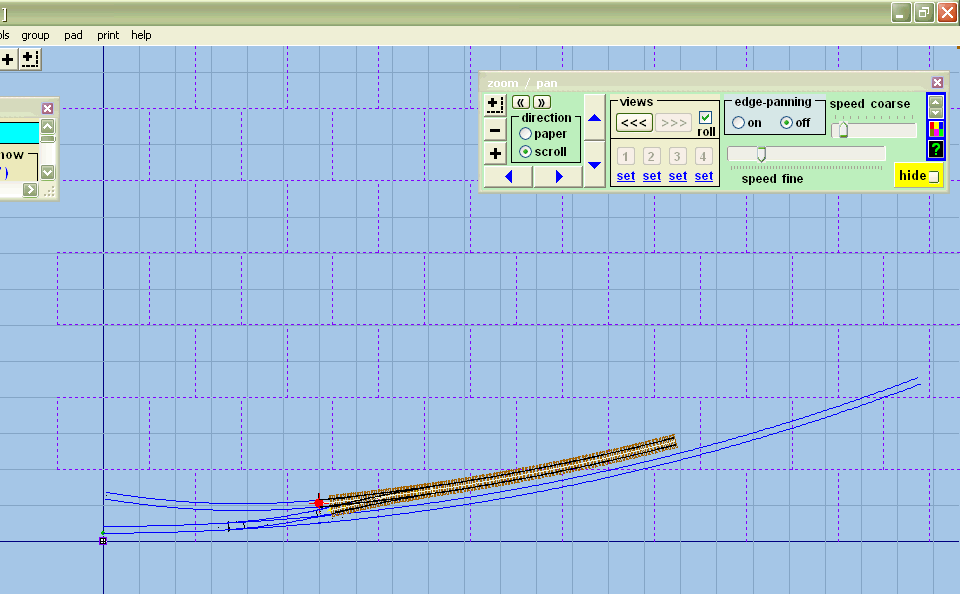
Now we can only have one turnout in any template, so I'm going to split off the approach track using tools / make split / make separate approach track, thus:
24.
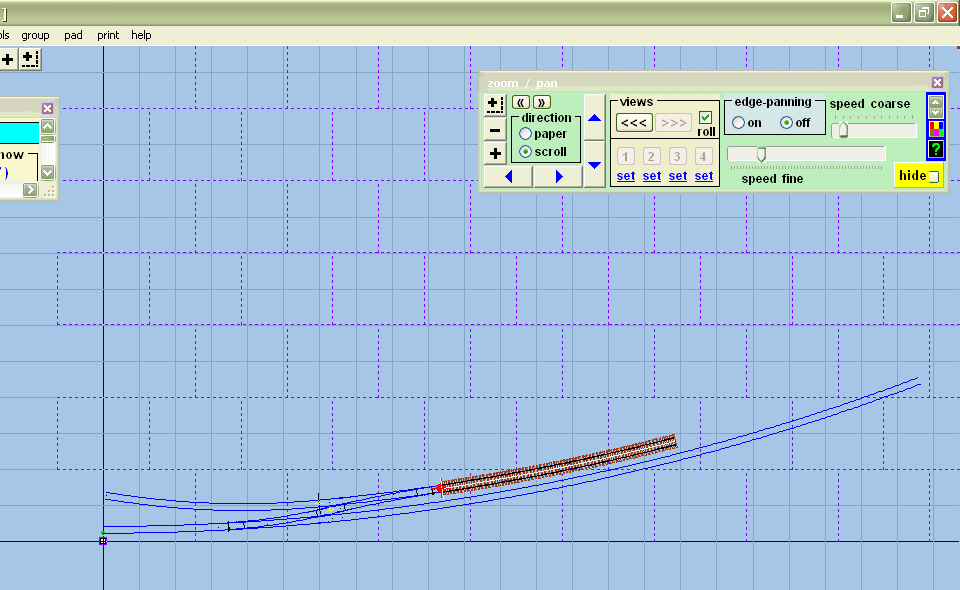
25.
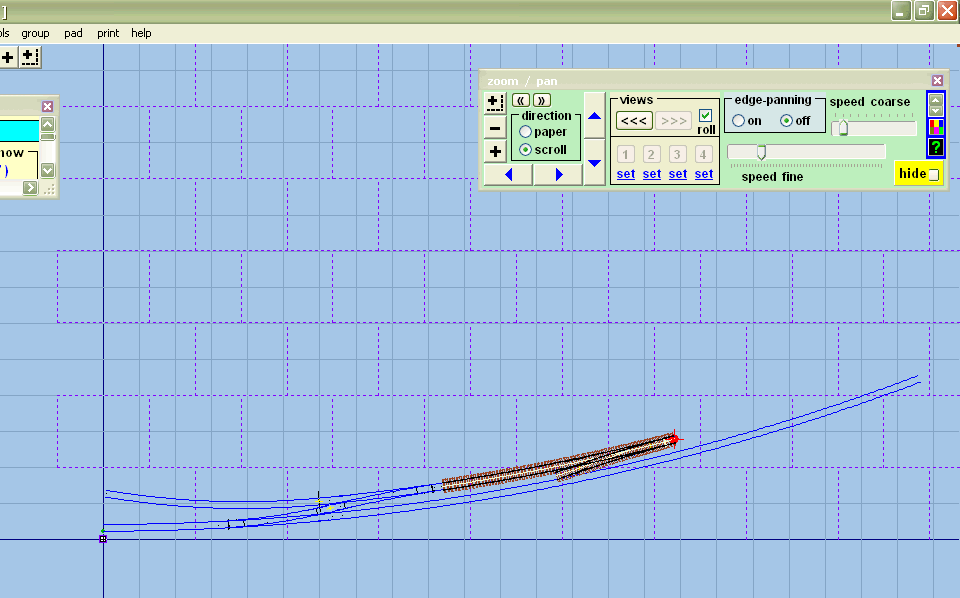
Now I'll put in a turnout into this template using template / insert turnout in plain track.
Notice that this template has the same specification as the previous one – 1:8 12ft straight heel switches. However it's pointing the wrong way. So click template / swap facing – trailing.
26.
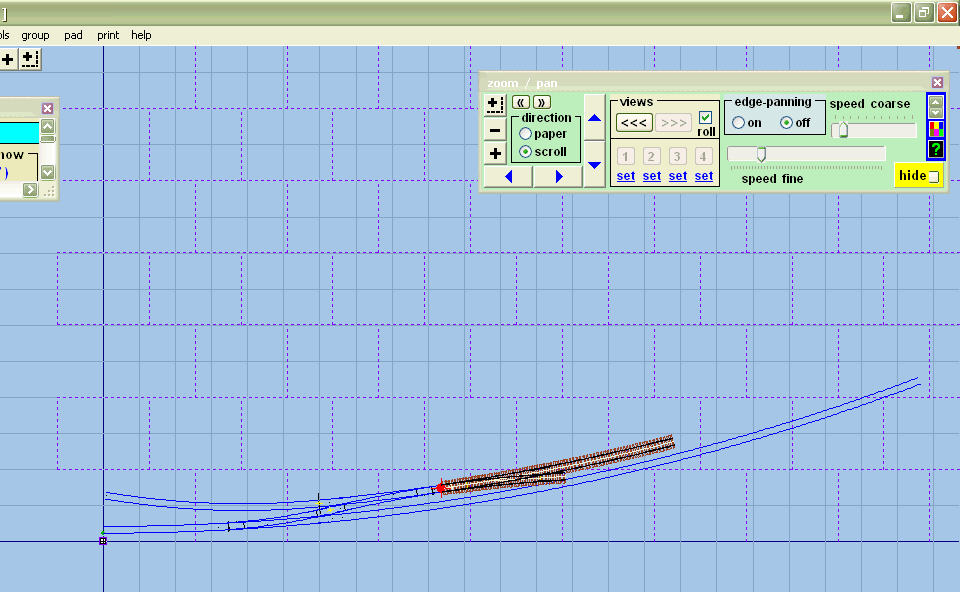
Now it's pointing the right way.
27.
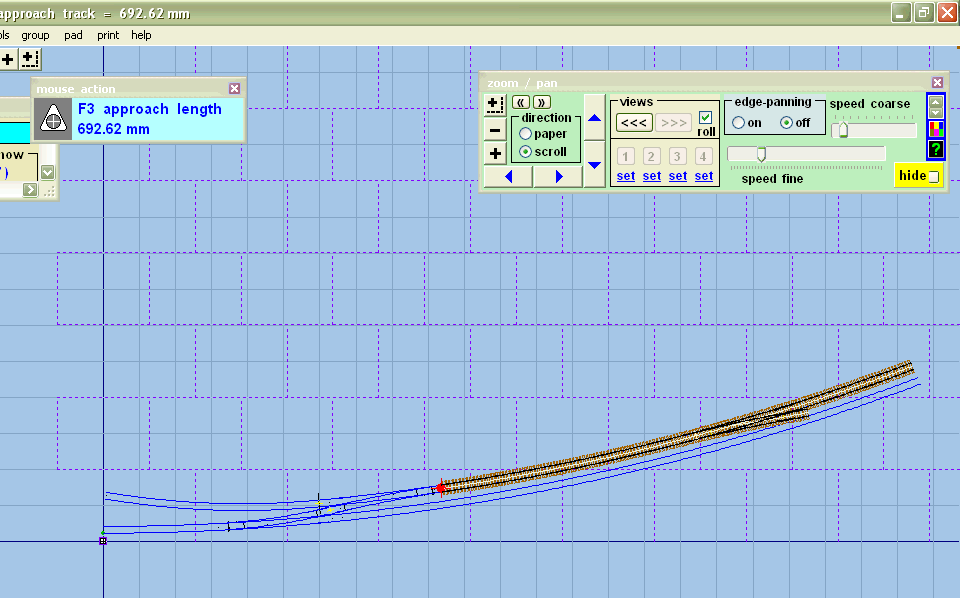
But it isn't much of a loop, so we'll extend it by increasing the approach length F3.
28.
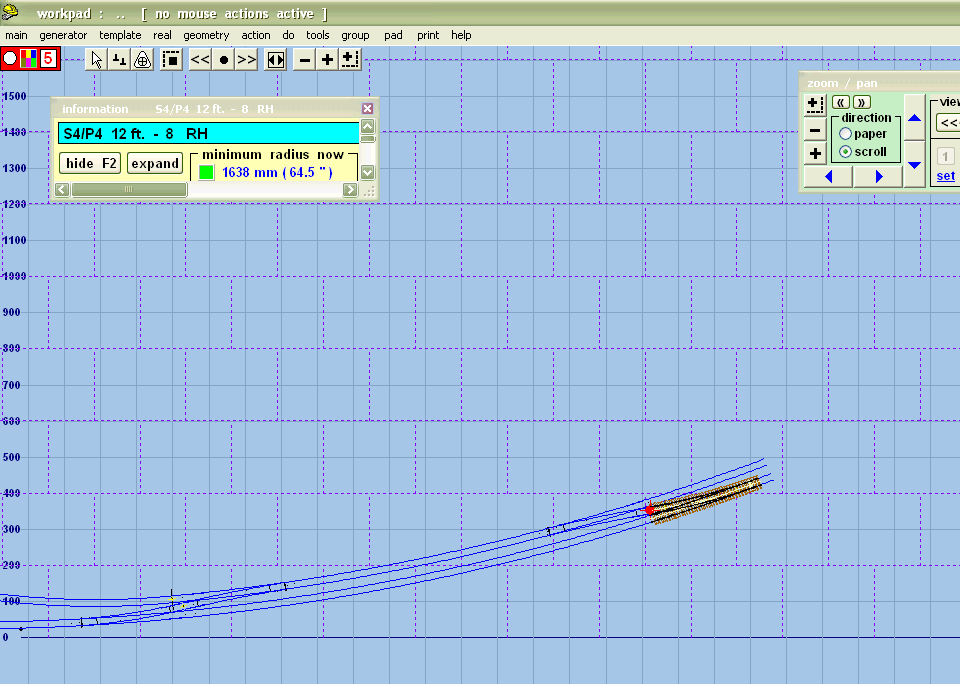
Now I just need to complete the crossover with tools / make simple crossover.
29.
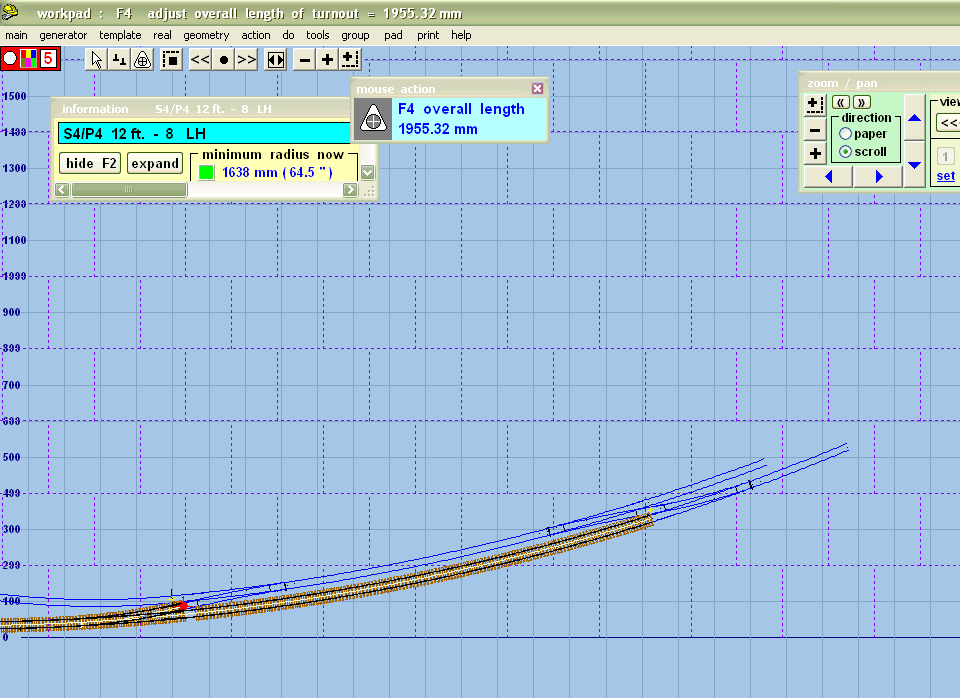
I can then extend the length of the approach road (F3), save and background, select the main line, delete to control, and shorten it to avoid overlapping templates.
30.
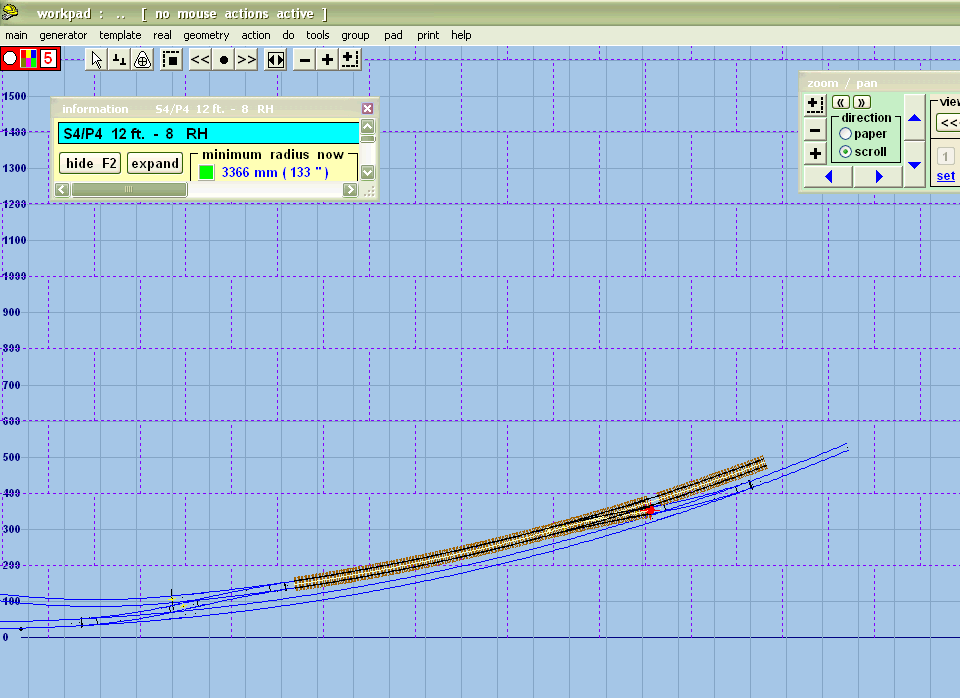
Now I want to add a siding off the loop, so I need to right click, save and background, select the loop line and delete to control again.
31.
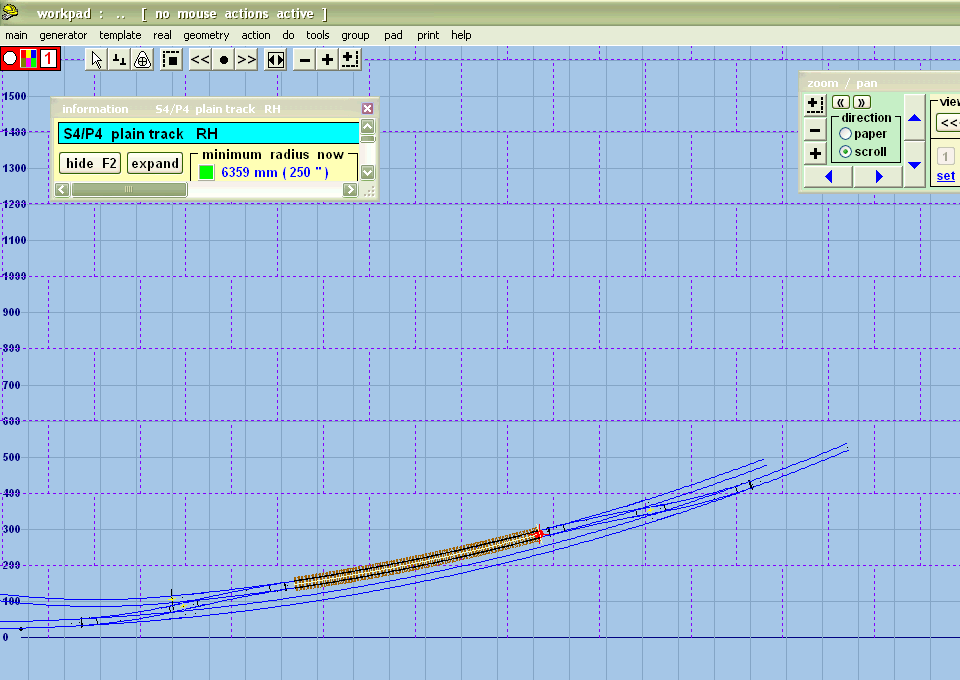
Again I need to split off the approach so tools / make split / make separate approach track.
32.
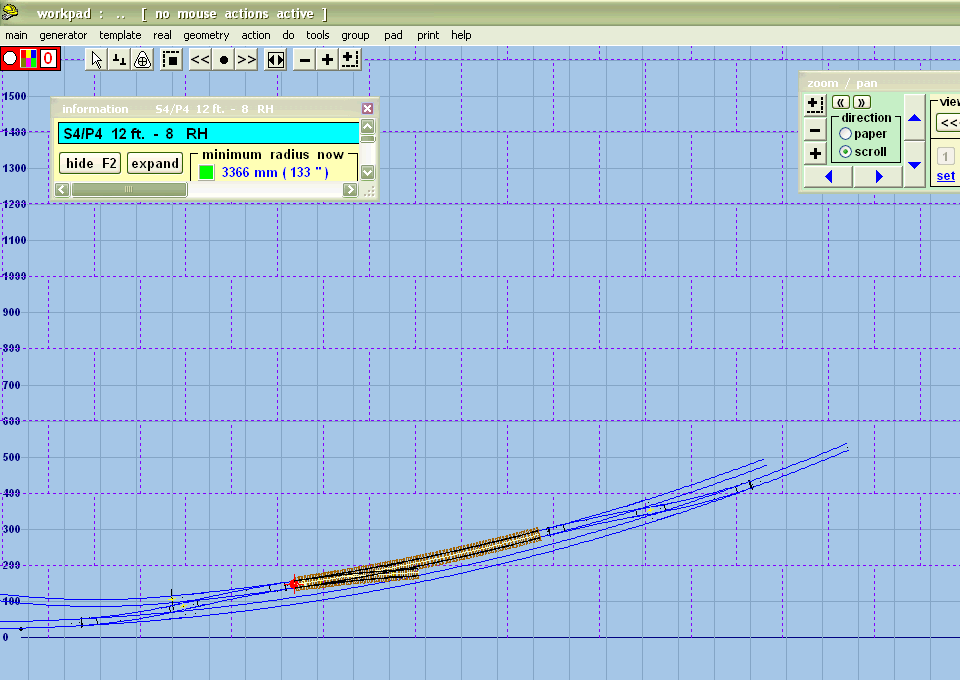
Now I can add the turnout template / insert turnout in plain track.
33.
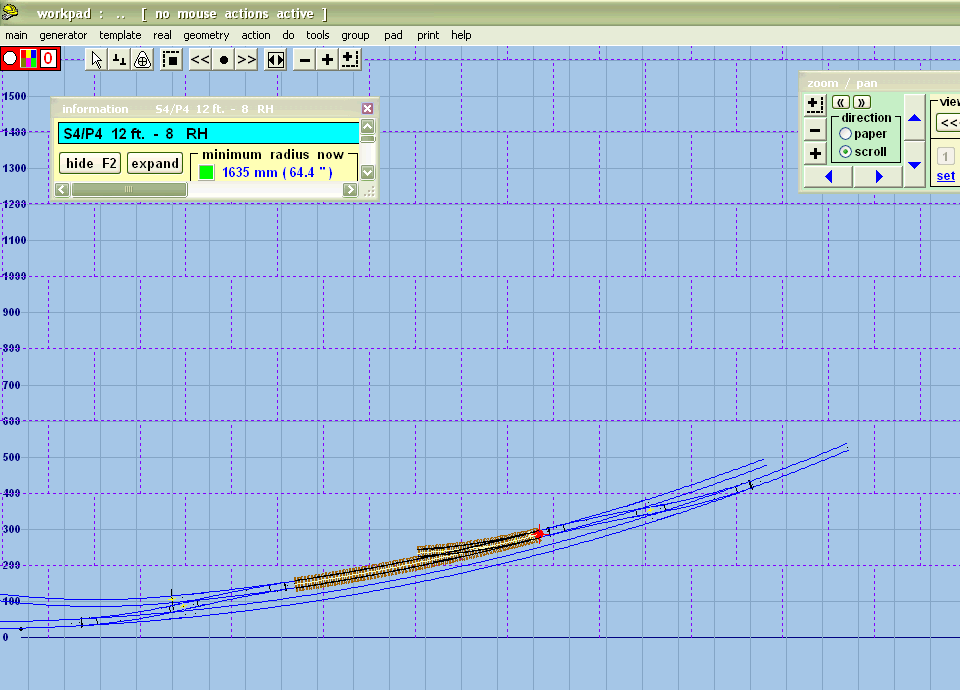
It's the wrong way round, so use template / swap facing/trailing, then template / invert handing to get it pointing in the right direction.
34.
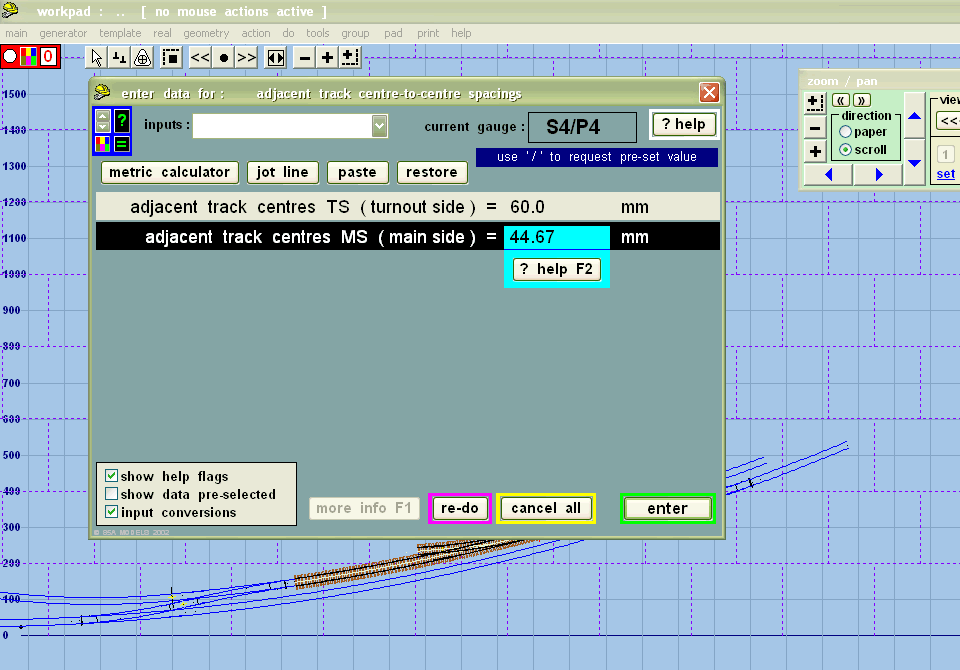
Now I want the siding to be further away from the running line, so set this in tools / adjacent track centres to 60mm.
We only need to worry about the turnout side here.
35.
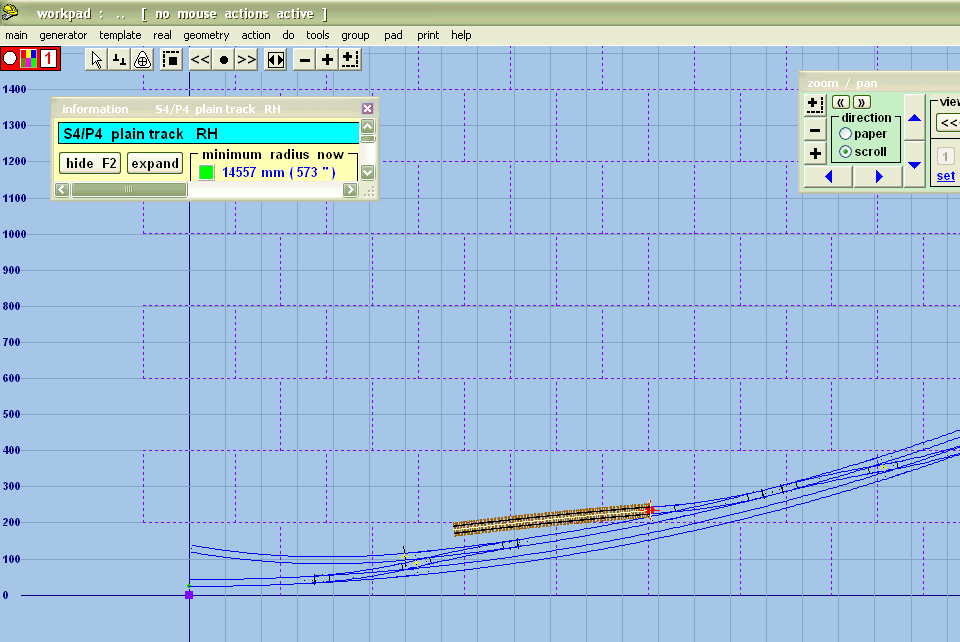
Now click tools / make return curve.
Update: In the latest versions of Templot you can simply snap the templates together using the mouse with F7. Just move the brown template until one end is close to the end of a blue template, and when you click or release the mouse it will jump into alignment.
So store and background for this first part of the siding. Now I want to attach another bit of track to the end of the siding. To create this new bit of track, right click anywhere, then mint from control template.
Then using the mouse with F7, snap the new template onto the end of the last one.
And skip the next part...
The next part of this sequence is some practice in using the peg and notch functions to do the same thing. These are normally used only when creating the more advanced track formations.
This is how to do it the long way:
36.
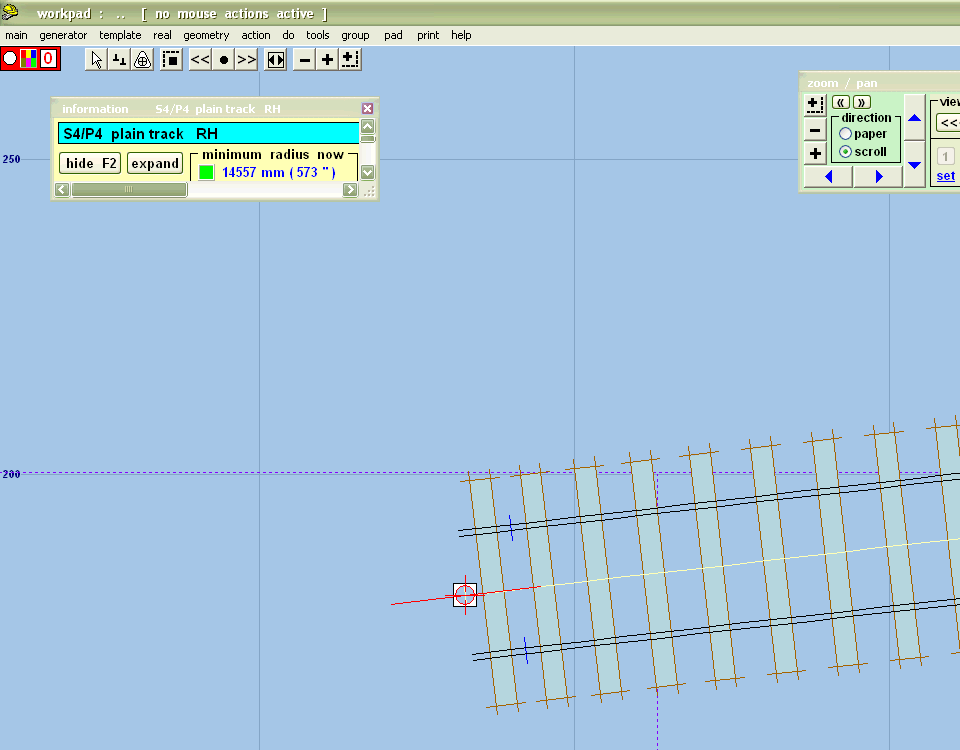
I want to use the notch to attach the next piece of track, so first move the peg to the other end, then press / key on the numeric pad to put the notch under the peg.
This is what it looks like when I zoom in.
Now store and background. Now I want to attach another bit of track to the end of the siding. To create this new bit of track, right click anywhere, then mint from control template, which gives me this:
37.
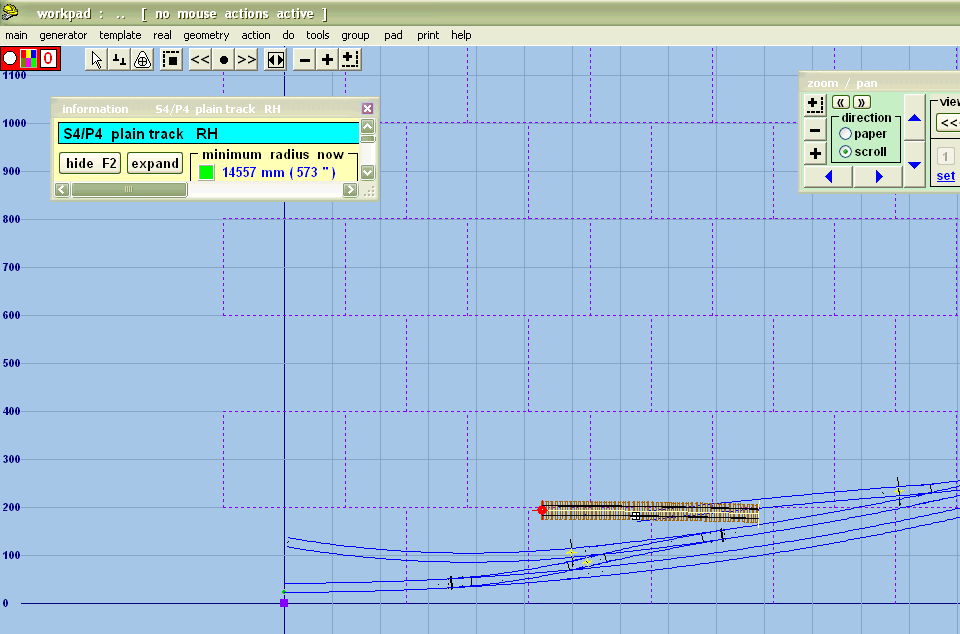
38.
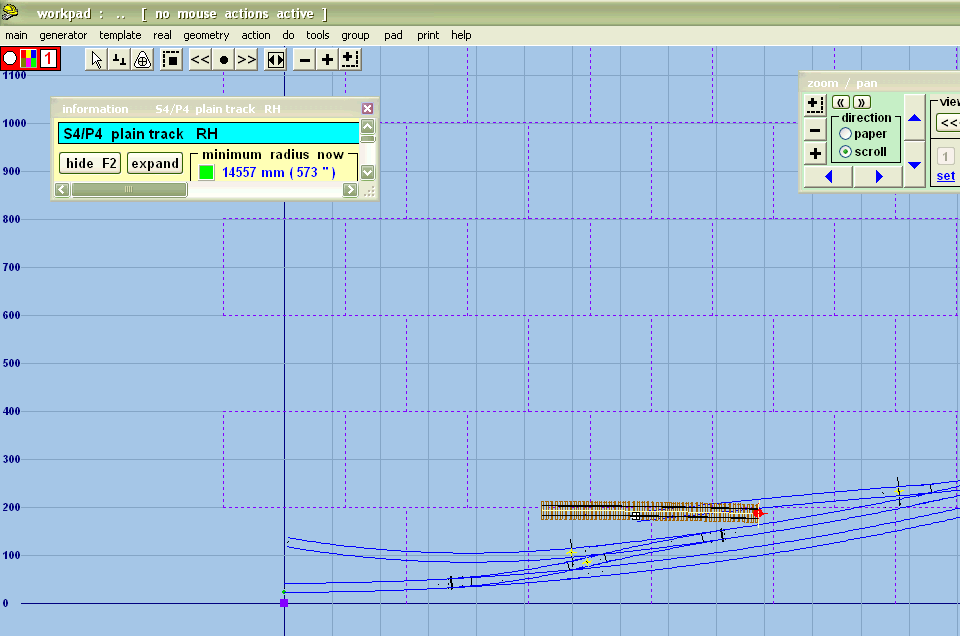
Move the peg to the other end.
39.
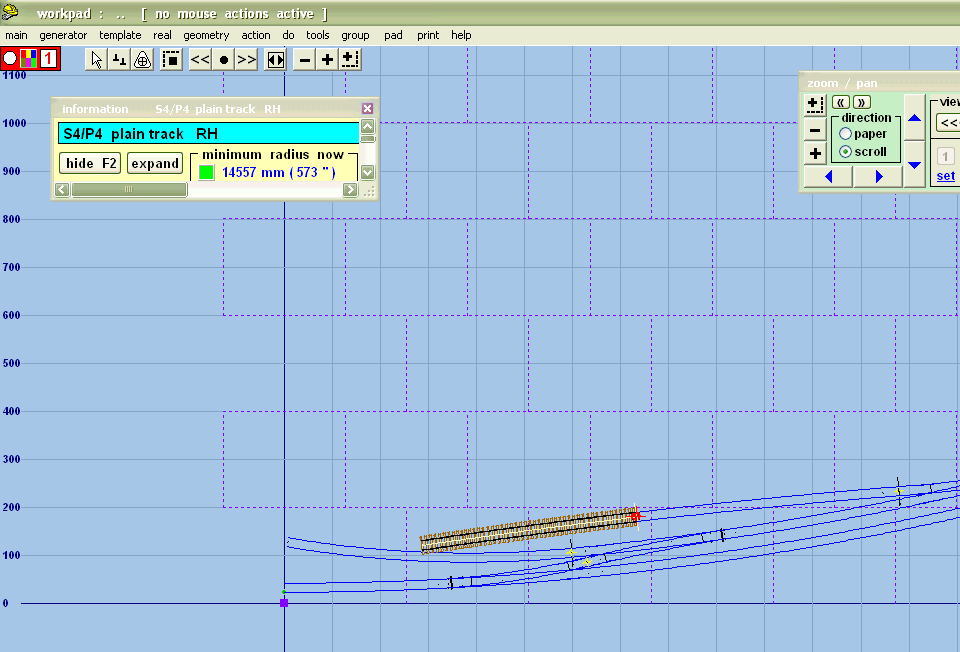
Then press * on numeric keypad and magically the new piece of track jumps onto the notch –- precisely aligned with the existing track.
... start again here if you used F7:
40.
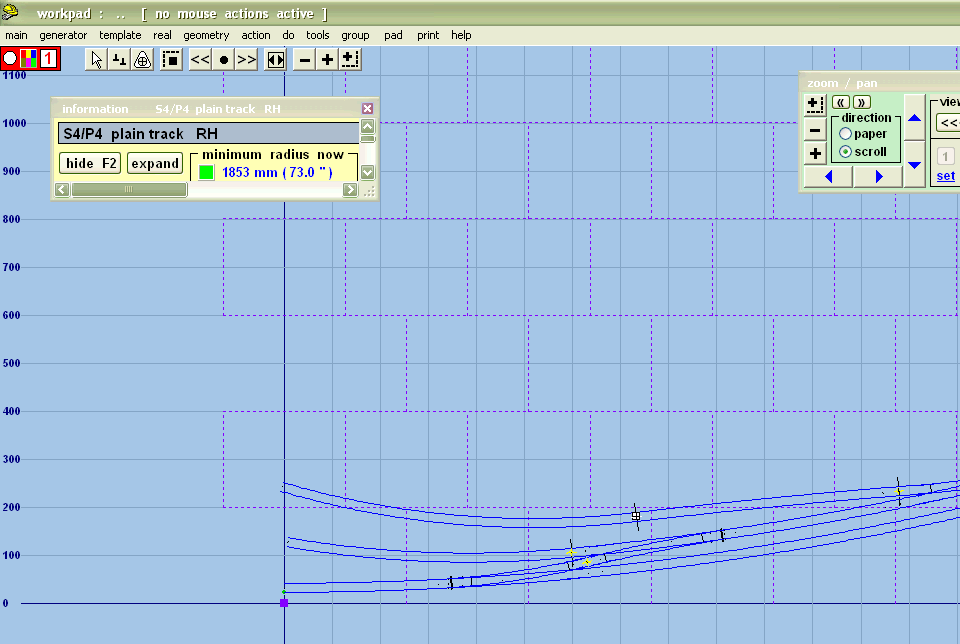
And I can now curve it and change the length as required, using F4 and F6 again. Then store and background again.
We have now created a piece of railway and can print off the whole plan at reduced scale, or individual pieces of track at full size for construction purposes. The dotted grid shows the outlines of A4 sheets if printing full size; the scale and the origins can be changed in the print menu.
Before going any further, click on the Help menu / print F key chart. This is a single printed page which can be propped in front of your keyboard and is a very helpful reminder of the commonly used keystrokes.
© Allan Ferguson
link to this page: https://85a.uk/templot/companion/getting_started_allan_ferguson.php